Netgear EX6120 Setup Without WPS (Ethernet Not Working)
Due to increasing popularity of Netgear range extenders, more and more people are adding them to their home WiFi networks. Recently, a user owning an EX6250 WiFi range extender brought in by Netgear attempted to add it to the home network. According to her, she was trying to perform Netgear EX6120 setup without WPS. It means she had employed an Ethernet cable for the setup process. Her host gateway was Motorola MG7700 cable modem router. She was failing to complete the setup process using a wired connection. Later, it was found that she was not able to access the management panel of the extender.
Why does this happen and what can be done to resolve similar setup problems? We have discussed the same in this very write-up. But, let us first consider a possibility that the user has used a damaged cable to hardwire the extender to router due to which the cable connection is not helping her achieve success with the process. So, the first thing we recommend in such a case is to employ a new Ethernet cable for the connection.
Change the Ethernet Cable for Netgear EX6120 Setup Success
Will changing the Ethernet cable work? Of course, it will! But, it won’t unless you don’t use a non-damaged one. You are suggested to make sure that the cable used for connecting the Netgear EX6120 extender and the main router (here Motorola MG7700) is free of damage.
One more thing you need to take care of in regards to the Ethernet cable is that you are not using a damaged one. Otherwise, you will keep struggling with setup related issues. And yes, be certain that the connection is strong.
Still Can’t Complete Netgear EX6120 Setup without WPS?
Changed the cable but still struggling to resolve setup related issues? Well, it seems that the default IP, 192.168.1.250 is not working for you. Do you know why? This is because of a hardwired connection between the extender and router. For your information, when there is a cable connection between two devices, the host assigns a new IP address to the connected device due to which accessing its management console through the default IP becomes impossible.
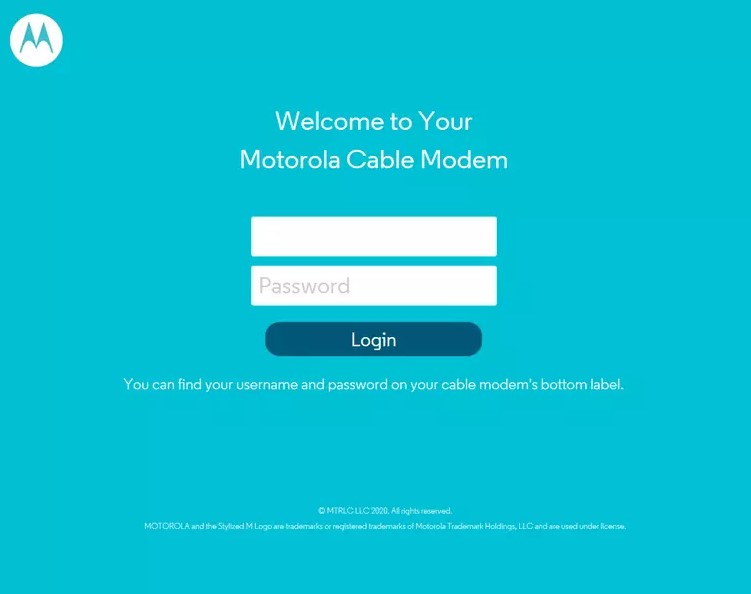
In this case, we recommend you access the management panel of the MotorolaMG7700 cable modem router (you can access the web-based setup wizard as per your router). After logging in to the router, you are suggested to check the list of connected devices and see the IP address assigned to the extender. Note down the same and use it to access the EX6120 setup wizard.
Did You Connect PC to Netgear Extender?
You might be unaware but in order to achieve success with the Netgear EX6120 setup without WPS, you have to connect your PC to the extender. You can either take the aid of the Ethernet cable for the same or use the WiFi SSID and password the range extender. Be certain about picking a non-damaged cable. In the case of WiFi connection, ensure that you are using the correct WiFi details.

After taking notes of the extender’s IP address and connecting the PC to the Netgear_ext network, you will manage to access the login page of the extender. This must be known to you that your range extender must be operating on the default factory settings. Setting up an already configured Netgear EX6120 extender-100NAS is not possible.
How to Set Up Netgear EX6120 without WPS?
Ensure the connection between your Netgear extender and the Motorola MG700 cable modem router. Once done, power up the extender followed by the cable modem router and walk through the below-given pointers:
- Connect your computer to the Netgear_ext network (if you haven’t done it yet).
- After that, access the IP address assigned to your extender using an updated web browser.
- A login page might show up your computer screen.
- There, type admin into the Username field and password into the Password field.
- Press Enter.
- Choose the Access Point mode.
- Select the network that belongs to your Motorola MG7700 and input the WiFi password.
- Keep following the on-screen prompts to complete the setup process.
To Make Long Story Short
From the very beginning of the post, we focused on the reasons due to which the user was not able to complete the Netgear EX6120 setup without WPS. We addressed issues related to the Ethernet cable. We also considered the fact that the setup was failing due to the wrong usage of IP address. And in the last, we concluded that the user might have not connected her device to the Netgear extender WiFi network. With all these things considered, we showed you how to fix them and also provided you the setup instructions. Now, we hope that you will be able to add Netgear EX6120-100NAS successfully to your home network.